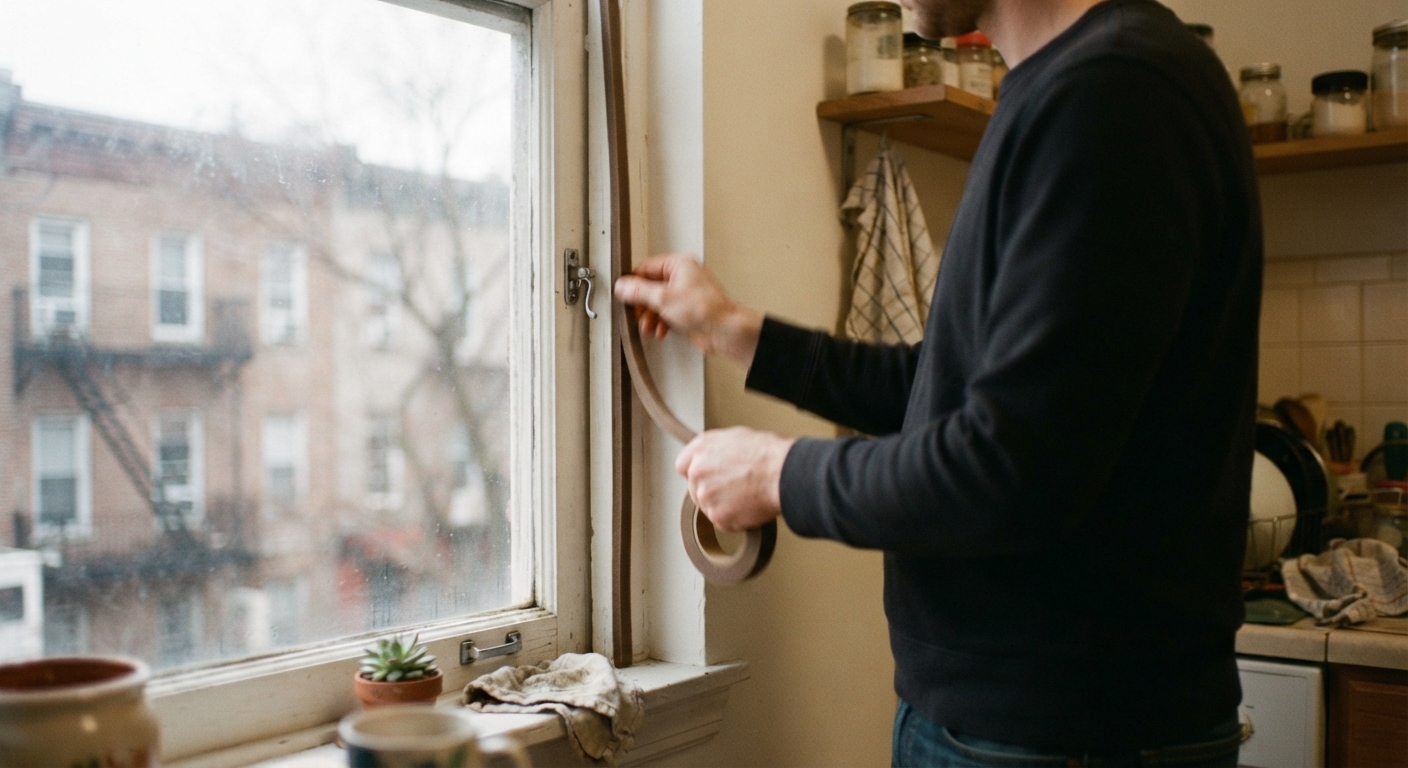
Every fall, someone posts a photo of a $400 heating bill and a caption like “help.” Most of the advice underneath is about programs and hardship funds. But if you’re not in crisis — just tired of paying to heat the hallway outside your apartment — the fix isn’t a program. It’s about an hour with a caulk gun and a tube of stuff that peels off clean when you move out. Here’s the real, non-dramatic version of weatherproofing a rental.
Why rentals leak more heat and cool air than owners think
Landlords maintain buildings to code, not to comfort. Code says the roof doesn’t leak and the wiring doesn’t start a fire. It says nothing about the half-inch gap under your exterior door, the old aluminum window frame that’s basically a metal straw pulling heat out of your living room, or the outlet on an exterior wall that blows a faint draft every time the wind picks up.
Older buildings and multi-unit properties are usually worse, not because anyone’s being negligent, but because sealing details like flashing, weatherstripping, and insulation degrade over decades and nobody notices until a tenant complains about the cold. And tenants rarely complain about “a draft,” because it feels like a small, un-fixable thing. It’s not small. A steady draft around a single door or window can be the equivalent of leaving a window cracked open all winter. You’re not imagining that your apartment feels colder than your thermostat says — it probably is, right near the walls and floor, which is exactly where you sit, sleep, and stand at the stove.
The good news is that almost all of this is fixable with materials that don’t touch paint, don’t leave marks, and take less time to remove than to put on. You’re not renovating. You’re just closing the gaps that were never really part of the design.
Removable caulk and weatherstripping that won’t damage paint or trim
The word “caulk” scares renters because they picture a permanent bead of silicone that takes the trim paint with it when you peel it off. That’s not what you want, and it’s not what you need to buy. Look for products labeled as removable, temporary, or repositionable caulk — it’s sold specifically for sealing drafty windows for a season and comes off in one long strip in spring, no scraping, no residue.
Run it along the inside seam where a window sash meets the frame, especially on windows you don’t plan to open all winter anyway. You press it into the gap with your finger, let it set, and it acts like a rubbery gasket. When you’re ready to open the window again, you peel it out.
For doors, foam or felt weatherstripping with adhesive backing is the classic fix, but adhesive-backed anything is a risk on a rental door frame, especially painted trim that might pull away with it. Instead, look for weatherstripping designed to press into a channel or wrap around the door edge with a stapleless, tension-fit design, or use double-sided mounting tape strips designed for temporary use rather than permanent construction adhesive. If you do use an adhesive strip, test a small hidden section first — the top inside edge of the door jamb, not the visible face — and give it 24 hours before deciding it’s safe.
The gap at the bottom of an interior-facing exterior door is usually the biggest single leak in an apartment. A draft you can feel with your hand is a draft costing you real money every single day it’s cold or hot outside.
Door draft blockers and outlet gaskets you can install in an afternoon
Door draft blockers, sometimes called door snakes or door sweeps, are the easiest win in this entire list. The kind that slide over the bottom of the door with no tools, no screws, and no adhesive are ideal for renters — you just slip it onto the door edge and it sits there via a fabric or foam wrap. If your door swings inward, get one that’s shaped for that; if it swings outward, the seal needs to sit on the other side. Either way, it takes about ninety seconds to install and thirty seconds to remove.
Outlet and light switch gaskets are the fix nobody thinks about. Every outlet on an exterior wall has a small box behind it that’s rarely insulated the same way the rest of the wall is, and that gap is a direct path for outside air. Foam gaskets made for this are cheap, sold in multi-packs, and go behind the switch plate — you unscrew the plate, drop the foam gasket over the outlet, and screw the plate back on over it. Nothing is glued, nothing is altered, and it looks identical from the front. This is maybe twenty minutes of work for an entire apartment and it’s one of the few fixes that also helps a little with noise from outside.
If your apartment has a mail slot, a pet door, or an old decorative vent that doesn’t actually connect to working ductwork, those are worth checking too. A removable foam block or a magnetic vent cover (for actual HVAC vents you’re not using in an unused room) can be pulled off in seconds when you move out or when the season changes.
Window film and heavy curtains as a stopgap for old windows
If your windows are original to a building built before insulated glass was standard, no amount of caulk around the edges fixes the fact that the glass itself is thin and the frame conducts temperature straight through. This is where window insulation film earns its reputation. It’s a thin plastic sheet you tape around the window frame using included double-sided tape, then shrink tight with a hair dryer until it’s nearly invisible. It creates a small air pocket between the film and the glass that meaningfully slows heat transfer in both directions — keeping heat in during winter and blocking some of the sun’s heat gain in summer.
The tape that comes with these kits is designed to be low-tack enough to remove from trim without stripping paint, but if you’re nervous about your particular window frame — especially older, possibly lead-painted trim in pre-1980s buildings — test a small piece in a corner first. Peel it after a few hours to check that it comes away clean before committing to the whole window.
Curtains are the low-effort, no-permission-needed version of the same idea. A heavy, lined curtain — even one you already own — closed at night in winter and during peak sun hours in summer does more than people expect, because a big share of a room’s heat loss or gain happens through glass. Use a tension curtain rod that fits inside the window frame or on the wall via existing hardware rather than drilling new holes, and you’ve added insulation with zero holes in the wall.
Neither film nor curtains will make an old single-pane window perform like a new double-pane one. But layering them together, especially on the windows that catch the most wind or direct sun, takes the edge off enough that your thermostat isn’t fighting a losing battle all day.
Photographing before/after for your move-out documentation
The number one hesitation renters have about any of this is fear it’ll cost them their deposit. The fix for that fear isn’t avoiding the project — it’s documenting it properly, the same way you’d document existing damage when you move in.
Before you install anything, take clear, well-lit photos of every window, door, and outlet you’re planning to touch. Get a wide shot and a close-up of the frame or trim. Note the date, either in the photo metadata or by texting the photo to yourself so there’s a timestamp attached.
After you install your draft blockers, film, or weatherstripping, take another round of photos so you have a record that shows exactly what was added and where. When you remove everything at move-out — which should take less time than installation — take a final round of photos showing bare trim, clean glass, and unmarked outlet plates.
This three-photo habit (before, during, after-removal) is the single best insurance policy against a landlord or property manager claiming the trim was damaged or the paint was pulled. It costs you nothing but a few minutes with your phone, and it turns a “trust me” conversation into a “here’s proof” conversation if your deposit is ever disputed.
It’s also worth keeping the packaging or a screenshot of the product description for anything you install, since most removable caulk, gasket, and film products are explicitly marketed as rental-safe or damage-free — which is a useful thing to point to if anyone questions whether you used the right kind of product in the first place.
Rough cost of materials versus what you’ll actually save per season
None of this requires a big outlay. A tube of removable window caulk, a roll of door weatherstripping, a couple of slide-on door draft blockers, a multi-pack of outlet gaskets, and a window film kit for two or three windows will typically run you somewhere in the range of a modest one-time purchase — the kind of amount you’d spend on a few takeout meals, not a home improvement project. Heavy curtains, if you don’t already own a pair, are the priciest single item on this list, and even those can often be found secondhand or on sale.
What you get back is harder to pin to an exact number because every apartment, climate, and thermostat habit is different. But the pattern renters report after a season of doing this is consistent: fewer hours where the heat or air conditioning runs constantly just to overcome a draft, a more even temperature from room to room, and a bill that creeps up less sharply during the coldest or hottest weeks of the year. Sealing a drafty door and a couple of leaky windows is often the difference between your heating system cycling on and off normally and it running nonstop trying to compensate for outside air sneaking in.
Because everything here is removable, the math also works in your favor long-term — you’re not sinking money into a fix you lose when you move. Pull the film, the caulk, and the gaskets, take your after-photos, and pack them in a bag for your next place. A twenty-dollar box of gaskets can follow you through several apartments, which makes this one of the rare home-cost fixes that actually gets cheaper the more times you use it.